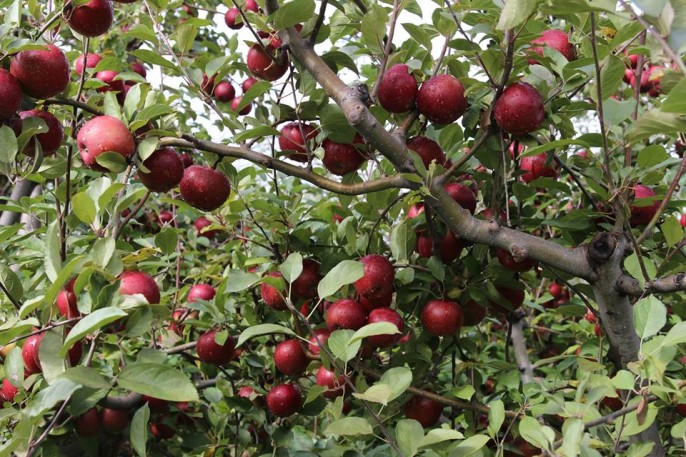
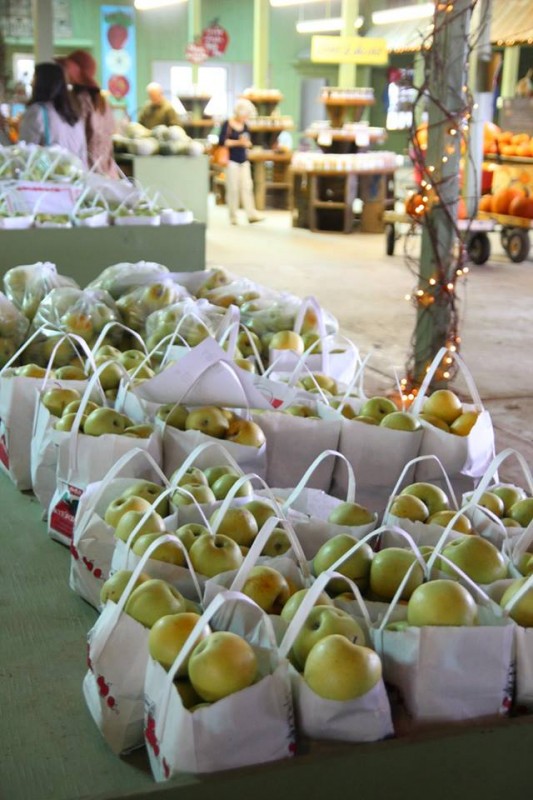
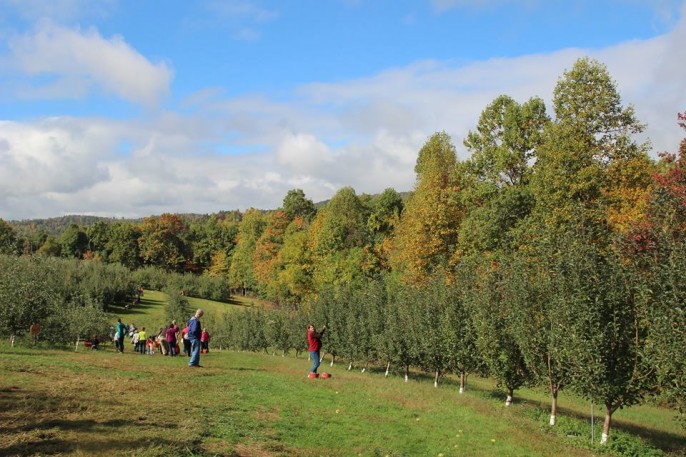
Remember when we went apple picking with our friends?
Well, we ended up with a ton of apples – of course! Â And after eating a few whole, I knew that I needed to get creative in the kitchen before they all went off. Â I wanted a yummy snack with only a few ingredients – something fun to eat but healthy, too. Â And so I whipped up this grain-free apple crisp.
Unlike other apple crisps, which are of course packed with added sugar, this one only has one source of sweetness – the apples themselves!  Apples have such a delicious flavor when baked.  I added a scoop of plain Greek yogurt to the side and the whole thing was very reminiscence of apple pie à la Mode!
Ingredients:
3 apples (I used two Gala and one Granny Smith)
1/2 cup coconut oil
2 teaspoons cinnamon
1 cup sliced almonds
1/4 cup pecans, chopped
Optional: Plain Greek Yogurt on the side
Directions:
Preheat oven to 350 degrees. Grease a glass pie dish or a cast iron skillet.
Cut the apples into slices and arrange in the dish.
Melt the coconut oil. Mix in cinnamon and nuts, coating the nuts thoroughly.
So a few months ago, I saw a post on Kath Eats about Gallery Direct, which makes beautiful canvas prints right from your photos. I immediately hopped on over to the site to order a ‘test’ print of Claire. You see, I had been desperately wanting to transform my staircase photo. After we moved in, I attempted a cute collage wall with lots of little pictures. But I was never satisfied with the layout, didn’t like the small size of the images, and kept knocking pictures off the wall. After two years, this is what I was left with.
Meh.
Anyway, I ordered a test print from Gallery Direct because we have a canvas print that I got from another website, and I was never satisfied with it. It cost a decent amount of money, but the canvas was flimsy and thin. So I wanted to wait to pull the trigger on a large order until I got one canvas back from Gallery Direct.
I loved my first Gallery Direct canvas SO MUCH that I promptly ordered 7 more and e-mailed the company to see if they would be interested in doing a giveaway! Seriously, these canvases are that nice. The frames are sturdy and thick, and the canvas has such a nice texture to it.
It comes with a wonderful hire hanger on the back! My other canvas frame didn’t and was such a headache to hang. Also – LOVE the Made in the USA sticker on the back of each picture.
Before I hung everything up on the wall, I sent a “HELP ME!†e-mail to Gallery Direct for some advice. I feel like collage walls are hard enough as it is – but stairway collages are even harder. Here’s what the experts said:
In reality, the more varied the art is that you’re hanging up, the more visually interesting it will be. Multiple sizes and orientations give a gallery wall a dynamic flow to it versus the more traditional symmetry of a size balanced wall. In terms of capturing the best flow that you can my advice would be to definitely use the paper layout as described in our first tutorial, found here. In addition we’ve seen a lot of success with using paper cut outs as well. The basic method would be as follows:
1. Gather all the pieces that you’re interested in including in the gallery wall
2. Lay them out on a piece of butcher paper and cut out the outlines of each piece so that you have a piece of paper in the exact size/shape of each piece
3. Arrange these visually on a wall – this allows you to arrange and rearrange as you see fit without having to put a bunch of holes in your wall
Best practices of where to start when arranging a variety of sizes/pieces is to stick the bigger pieces in the middle and then let the smaller ones fill in the gaps on the outside of the arrangement. Likely the larger pieces will be your visual focal point anyway, so keeping them in the center makes the most sense to the eye, while including the smaller ones towards the outside lets the viewer really appreciate the details they otherwise might have missed.
Since hanging my first wall was such a disaster (so many holes!), I took their advice and tried the butcher block paper method.
I cut out outlines of each picture and also made a mark on the paper indicating where the nail should go when I accounted for the wire hanger’s give. I also wrote on each paper which picture it belonged to and the picture’s orientation so I didn’t get too confused.
FYI butcher block paper is also an excellent race track.
I laid out the pictures on the floor first, and then I taped the paper up on the wall. I moved things around a few times because some of my prints weren’t the exact same size so I couldn’t be perfectly symmetrical (which definitely threw me off). I decided to just do what Gallery Direct advises and go with what looked visually pleasing instead of perfectly aligned.
Final product:
I am so pleased with how it came out! And I LOVE the larger prints because it’s so much easier to actually SEE them – before you had to get super close to appreciate the pictures. I left some room to grow on the bottom landing of the staircase. I can’t wait to add a few more pictures in (I know we need a tailgating picture in there somewhere!).
If you want to just go ahead and purchase some Gallery Direct prints (they would be an awesome holiday present), Gallery Direct is running a promotion through mid-November for 40% off sitewide and 65% off on canvas gallery wrap photo uploads! You don’t need a coupon or anything, just head on over to the site.
Want to win $200 to Gallery Direct to create your own wall? Simply leave a comment on this post telling me about your all-time favorite picture. My all-time fav is the picture of the Husband and me looking at Henry the moment he was born (you can see it here). I’ll pick a winner on Monday.
This morning, the Husband and I searched for TWO HOURS (I am not exaggerating) for his car keys. I had them last, but we’re pretty sure a kiddo picked them up and hide them… somewhere? Hopefully not down that AC vent, which is where I was convinced they were for about 10 minutes (verdict: I don’t think so, although I did find a bunch of other stuff and a lot of dust). Eventually, we gave up, and he UBERed to work.
This afternoon, we located the spare key, but the main set is still missing in action.
Which brings me to this Amazon purchase…
Click and Dig promises me that the receiver’s radio frequency can penetrate walls, cushions, couches – so it better be able to penetrate toy boxes (and, I know, I know – we should really just put the keys in a drawer where little hands can’t reach).
And actually, THE SAME EXACT THING happened to us last week. We got both kids in the car before realizing that we couldn’t find my keys. We DESTROYED the house looking for them. Turns out that Henry had them in his hands and had dropped them under the back seat of the car. Ahhh.
NEVER AGAIN, my friends. Seriously. I am going to weld that Click and Dig thingie onto my keychain.
Other products that I never knew I needed until it was too late:
Find My iPhone: I didn’t realize this app was pretty clutch until I misplaced my phone at a football game (I’m pretty sure it was actually stolen – still makes my blood boil).
Traveler’s Insurance: Remember when we went to Ocean Isle Beach this spring with a bunch of friends, only to be hit with Tropical Storm Ana? I never buy Traveler’s Insurance, which covers stuff like that, and not only was our beach trip cut short by a day and a half, but the rental house actually flooded! LUCKILY – I was not in charge of booking the house for the trip, so we had insurance (I was so pleasantly surprised). We got back nearly $1000 between the five couples. Whoop whoop.
What else? What do I need to buy BEFORE I get into another jam?
Did you have an awesome weekend? Ours was busy but great.
We actually spent a lot of time just hanging out in our backyard. A chill is definitely in the air – you can tell that winter is coming! I felt like we were all trying to soak up the last bits of sun and sandals weather before it completely slips away.
I love that I can cut a bouquet of roses from our garden! Kristien takes care of our two bushes – thank goodness for him. I have the blackest thumb and they would never survive under my care!
Two healthy highlights on Sunday were…
#1 – I started Round 2 of Vegetarian Whole 30 <—explanation (it’s not regular Whole 30). I feel pretty darn great after Day 1. I’m hoping this Round will be easier than the last one because I’m not as addicted to sugar. I added sugar back in after my first experience with VW30 but never to the level that I was before!
Breakfast was collard greens, strawberries, and eggs with sliced almonds and a heap of coconut oil (almonds are so great in eggs – trust me!).
And lunch was this epic salad, which had greens, carrots, tomatoes, chickpeas, snap peas, roasted potatoes, almonds, olive oil, salt, and mustard galore. I love mustard on salads.
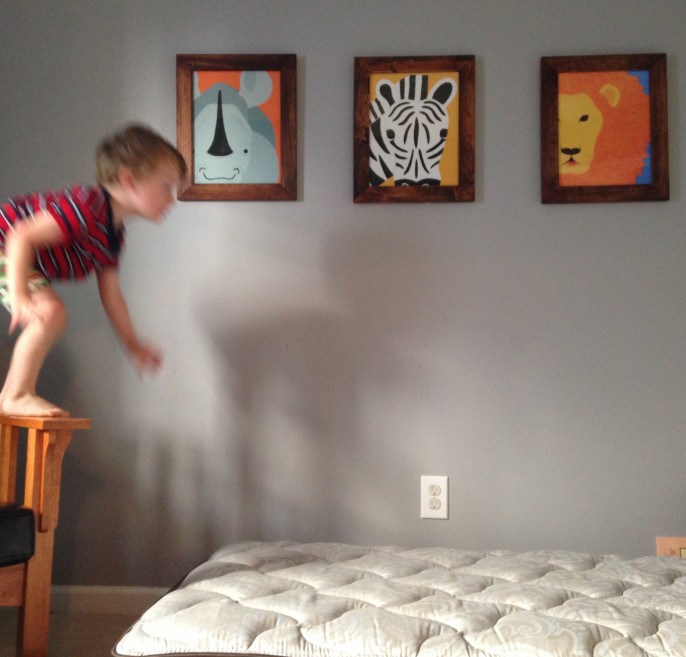
Annnnd then I stopped photographing food because my life was consumed by this type of kiddo chaos. Not super conducive to food photography, know what I mean?
But trust me, the rest of my Vegetarian Whole 30 meals were all sorts of awesome.
#2 – I had an epic strength training session at the gym. I focused on chest, shoulders, and triceps. Then I did 10 minutes on the treadmill. Afterwards, I met up with Brandi and her kids and we did a few rounds of suicide dashes on the basketball court for a little HIIT action. The kids raced, too!
All in all, a pretty nice Sunday!
And in other news, Claire is really starting to walk. After weeks of only taking a step at a time, she has suddenly graduated to a maximum of six or seven. She’s still pretty wobble but man – it’s gonna happen for real very, very soon! Fun fact – the way she’s walking right now (at 10 1/2 months), Henry could do at 8 months! 3 years later, I’m still struggling to keep up with him.
I am trying to get back into the swing of things, fitness-wise, but have been balancing a desire to sweat more with a need to calm my schedule down and workout intuitively – not just because a training plan says I have to. Â Know what I mean?
I used my gym’s boot camp to get back into shape after Claire’s birth (here’s my 6 week report and my 14 week report). I seriously love the classes but have found it difficult to coordinate Claire’s naps and Henry’s school with the sessions.  I’ve been doing the class’s style on my own at the gym or at home with my weights, but there is nothing like an official boot camp session!  I was so glad that I finally made it back.
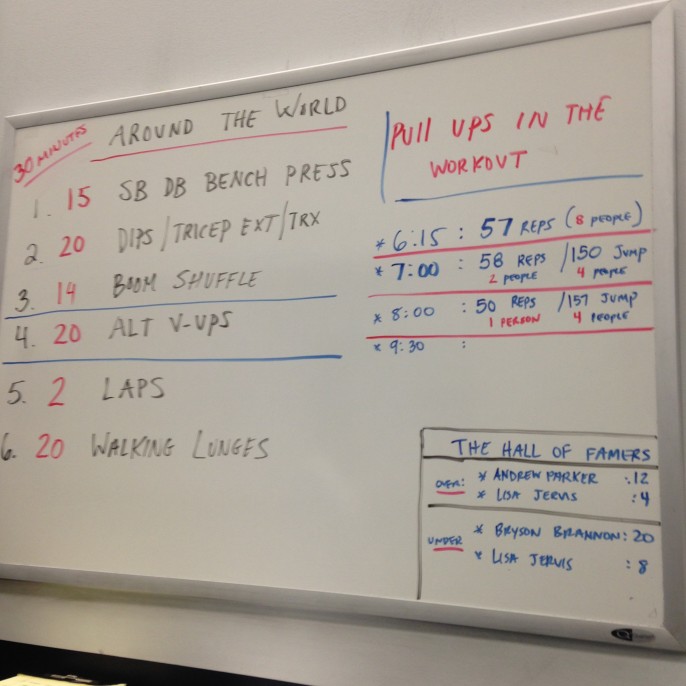
This workout was five rounds of the following moves:
15 stability ball dumb bell bench presses (I used 12.5 pounders)
20 tricep dips or extensions
14 boom shuffle (basically squatting down to pick up a 20 – 50 pound ball and dropping it)
20 V sit-ups (crunch up while bringing up a leg, twisting to touch your toe, and repeating on the other side)
2 laps on the track
20 walking lunges
Doing these moves are great on my own, but I never push myself as hard as I do in class. Â I woke up the next morning and, oh man, was I sore! Â The back of my arms really hurt (so good).
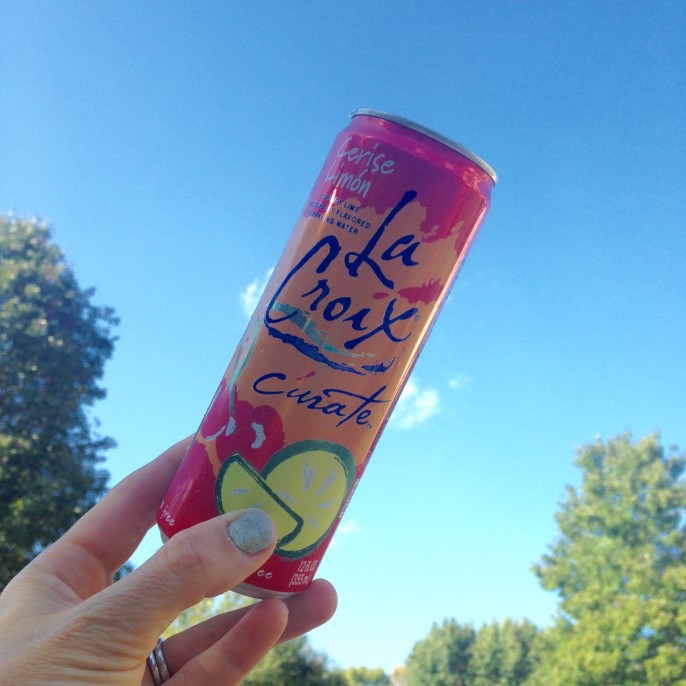
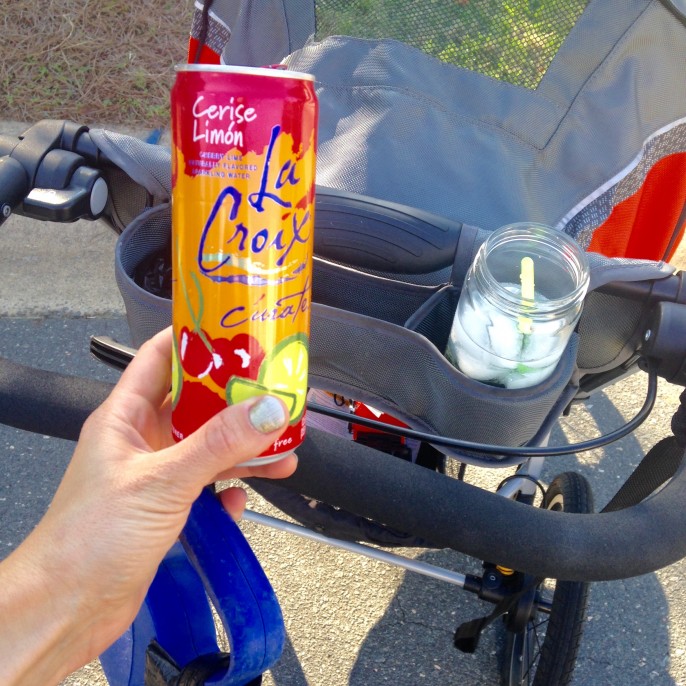
New favorite La Croix flavor:
… Which tastes really good when you combine it with Moscato wine and drink it while on a stroller walk in the MOST PERFECT FALL WEATHER EVER. Â Seriously – the temperatures right now in Charlotte are blissful.
Well, tomorrow, I am off on a jet plane for a super busy trip (for Operation Beautiful), so I probably won’t be checking back in for a few days. Â If I’m not careful, I tend to take on too much stuff and end up feeling like a crazy person, frantically running around to get everything done. Â I have intentionally been signing up for less lately, and I must say that it feels really good to slow down and chill out. Â Especially at this time of year, you know? Life can get so nutty in the fall!
What are you slowing down to focus on? I’ll just be over here, sippin’ on a few more La Croix and wine combos!


")